Imagine your laptop keyboard as a canvas, painting your thoughts and ideas with every keystroke. But over time, this masterpiece can become marred by dirt, crumbs, and sticky residue. To restore its pristine beauty, you need to know how to clean your laptop keyboard effectively. In this informative guide, we will walk you through the step-by-step process of rejuvenating your keyboard.
Before diving in, gather the necessary cleaning supplies to arm yourself for battle against grime. Once prepared, disconnect and power down your laptop to ensure safety during the cleaning process. With caution and precision, remove any loose debris from between the keys using a gentle touch.
Now comes the time to give each key individual attention. Cleaning them thoroughly will not only enhance their appearance but also improve typing performance. Take care to dry everything completely before reassembling. So let's embark on this cleansing journey together and reclaim the vibrant strokes of creativity that once adorned your laptop keyboard!
#1. Gather Cleaning Supplies
Now that we know what we need, let's gather all the cleaning supplies to get our laptop keyboard looking brand new!
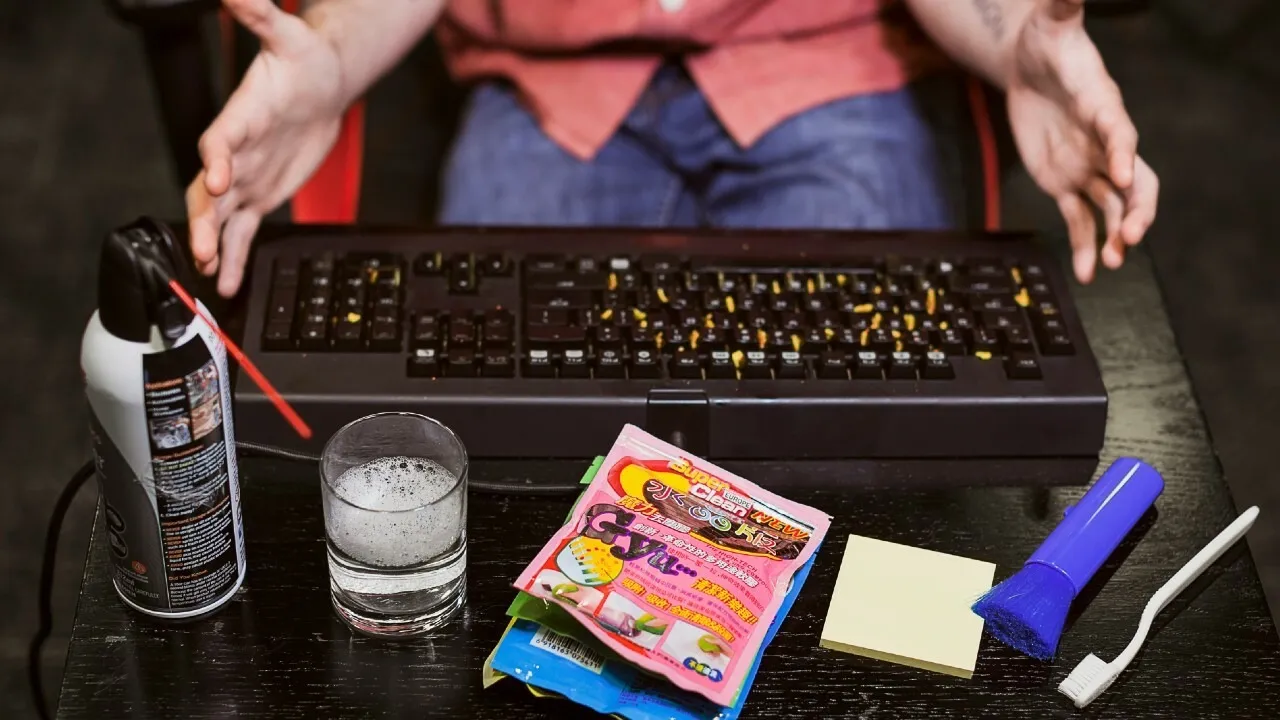
Proper cleaning techniques are essential to prevent keyboard damage. To start, you'll need a soft microfiber cloth and some isopropyl alcohol. The microfiber cloth is perfect for removing dust and debris without scratching the keys or screen. Isopropyl alcohol is great for disinfecting and removing stubborn stains from the keys. Remember to use it sparingly and avoid getting any liquid inside the keyboard.
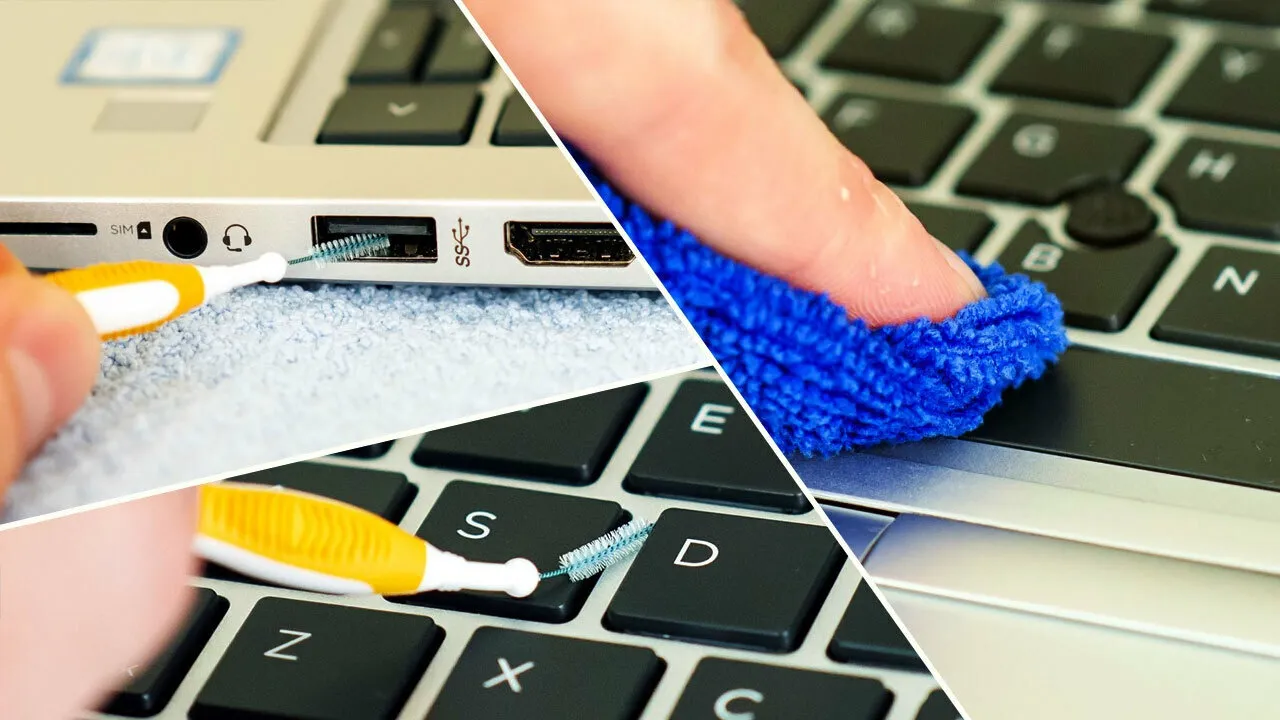
Additionally, you may want to have cotton swabs or a small brush on hand to reach those hard-to-reach areas between the keys.
Once you have all your supplies ready, it's time to move on to disconnecting and powering down your laptop for safe cleaning.
#2. Disconnect and Power Down Your Laptop
Before starting the cleaning process, make sure you've properly disconnected and powered down your device. This step is crucial for laptop keyboard maintenance and preventing keyboard damage.
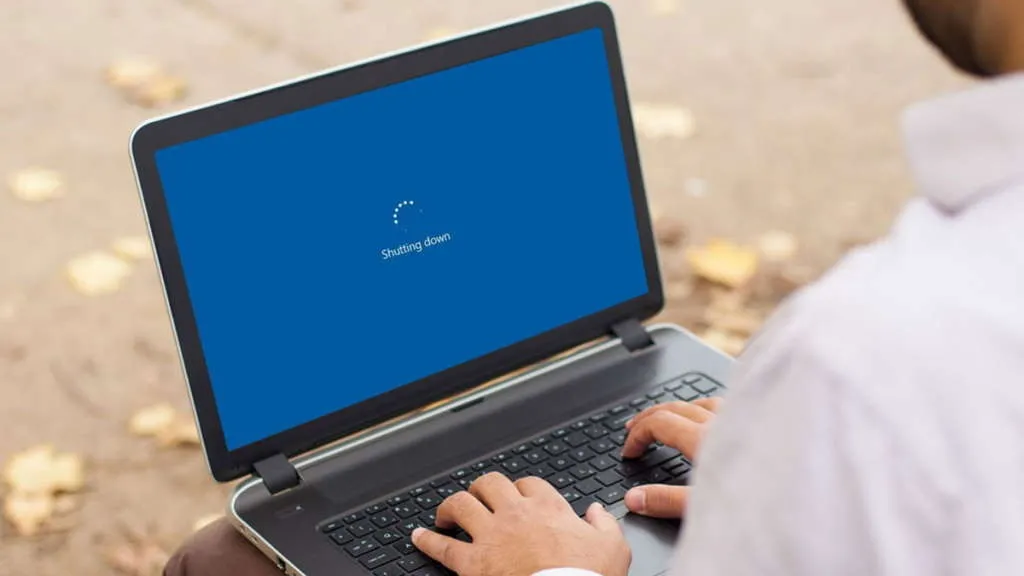
First, disconnect any cables or peripherals connected to your laptop, such as chargers or external devices. Then, shut down your laptop completely by clicking on the Start menu and selecting 'Shut Down.'
Once your laptop is powered off, it's time to clean the keyboard. Cleaning a laptop keyboard while it's still turned on can lead to accidental keystrokes and potential damage. So, be sure to follow this important step before moving on to remove loose debris from your keyboard in the next section.
#3. Remove Loose Debris
Start by gently shaking your laptop upside-down to dislodge any crumbs or debris that may be trapped between the keys. This step is crucial for keyboard maintenance and preventing damage. By removing loose debris, you can ensure that your keys are not hindered from functioning properly. Small particles like food crumbs or dust can accumulate over time and cause keys to stick or become unresponsive. Regularly removing this debris will keep your keyboard in top shape and extend its lifespan. Once you've removed the loose debris, it's time to move on to cleaning the keys themselves.
#4. Clean the Keys
Get ready to give your keys a sparkling makeover! To clean the keys of your laptop keyboard, follow these simple steps:
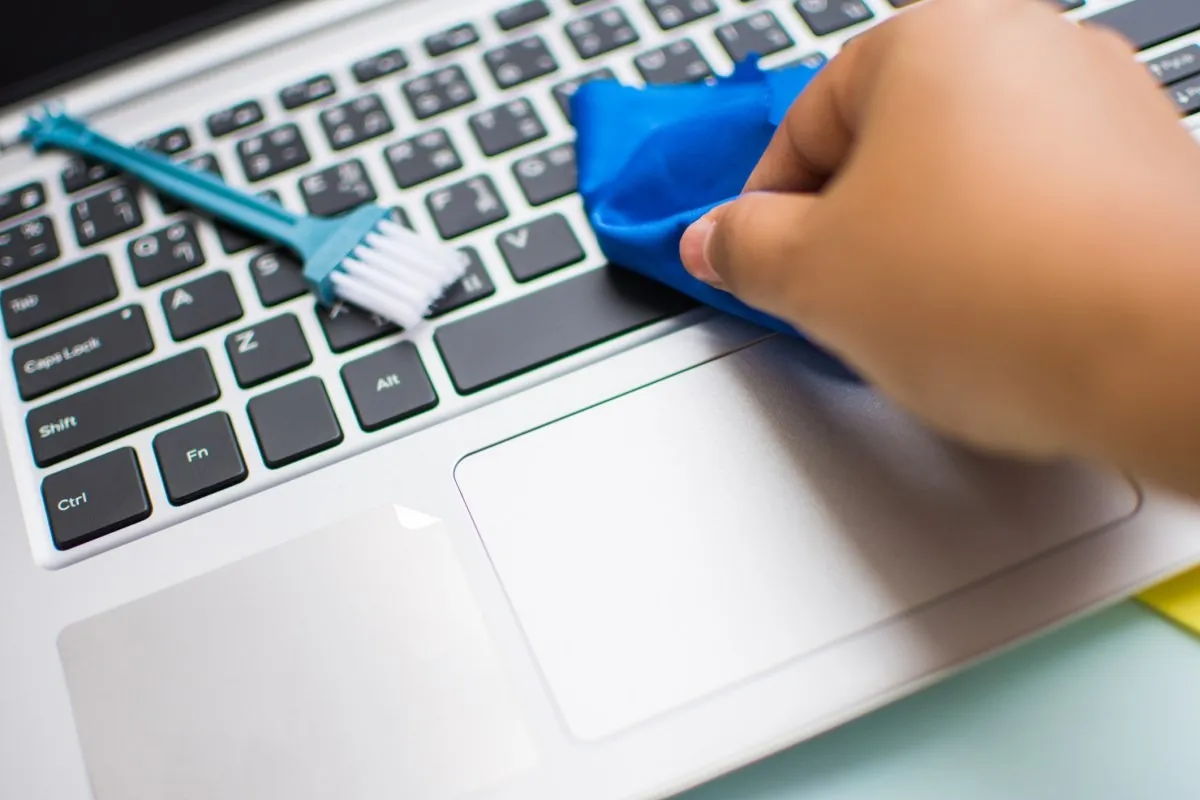
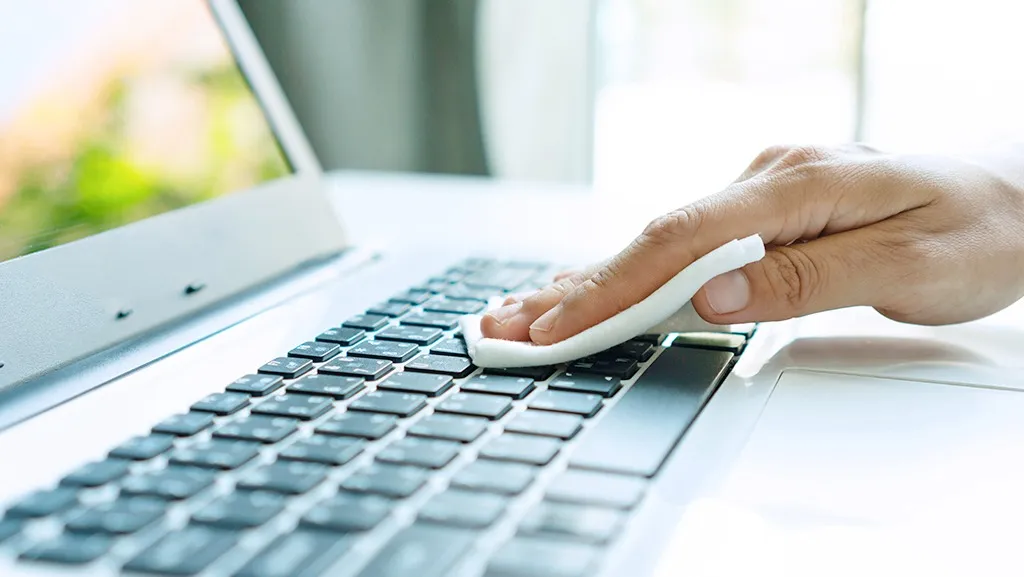
1. Use a soft, lint-free cloth dampened with water or isopropyl alcohol to gently wipe each key. Be careful not to saturate the cloth and avoid using excessive liquid on the keys.
2. For stubborn stains or grime, you can use a cotton swab dipped in isopropyl alcohol to clean around the edges and crevices of the keys.
3. To disinfect your keys, consider using disinfecting wipes that are safe for electronics. Make sure to read the instructions carefully before using them on your keyboard.
With these cleaning techniques and disinfecting methods, you can ensure that your laptop keyboard stays clean and germ-free. Now, let it dry and reassemble for the final touch-up in our next section about 'let it dry and reassemble'.
#5. Let it Dry and Reassemble
Source: Asurion
Once you've completed the sparkling makeover, allow sufficient time for the keys to dry before reassembling them. This step is crucial to ensure that your laptop keyboard functions properly and doesn't sustain any damage.
To begin with, gently shake off any excess water or cleaning solution from the keys. You can also use a clean microfiber cloth or towel to pat them dry. Next, it's important to let the keys air-dry completely. This can take anywhere from a couple of hours to overnight, depending on the humidity level in your environment. Avoid using heat sources like hairdryers as they may cause warping or melting of the plastic keys.
Once the keys are thoroughly dry, carefully reassemble them by aligning each key with its respective slot and applying gentle pressure until you hear a satisfying click.
Following these reassembly tips and proper drying methods will help maintain the longevity and functionality of your laptop keyboard.
Conclusion
In conclusion, cleaning your laptop keyboard is a simple task that can greatly improve its functionality and lifespan. By following the steps outlined in this article, you can easily remove debris and dirt from your keys, ensuring a smooth typing experience.
Did you know that keyboards can harbor up to 20,000 times more bacteria than a toilet seat? This shocking statistic emphasizes the importance of regularly cleaning your keyboard to maintain good hygiene and prevent the spread of germs. So don't wait any longer, grab those cleaning supplies and give your laptop keyboard the care it deserves!
If you're interested in this post, visit Meme Funny to keep up with the latest technology news.
Maybe you are interested:

Top 5 Best Antivirus Software For Laptops In 2023

Essential Software For New Laptops You Do Not Want To Miss
