Are you tired of relying on expensive recording studios to bring your musical vision to life? With the advancements in technology, setting up a home recording studio is now more accessible than ever before. Imagine having the freedom and convenience to create high-quality recordings right from the comfort of your own home.
Just like a master chef equips their kitchen with top-of-the-line appliances, you too can equip your home with the right tools to create professional-grade recordings. It's like building your own musical laboratory, where you have total control over every aspect of the sound.
Think of it as a blank canvas waiting for your artistic brushstrokes. By carefully selecting the right equipment, designing an optimal space, and mastering key techniques such as recording, mixing, and editing, you'll be able to transform any room into a fully functional home studio.
In this article, we will guide you through each step to set up a home recording studio. So grab your headphones and prepare to embark on an exciting journey into the world of music production from the comfort of your own home.
#1. Choose the Right Equipment
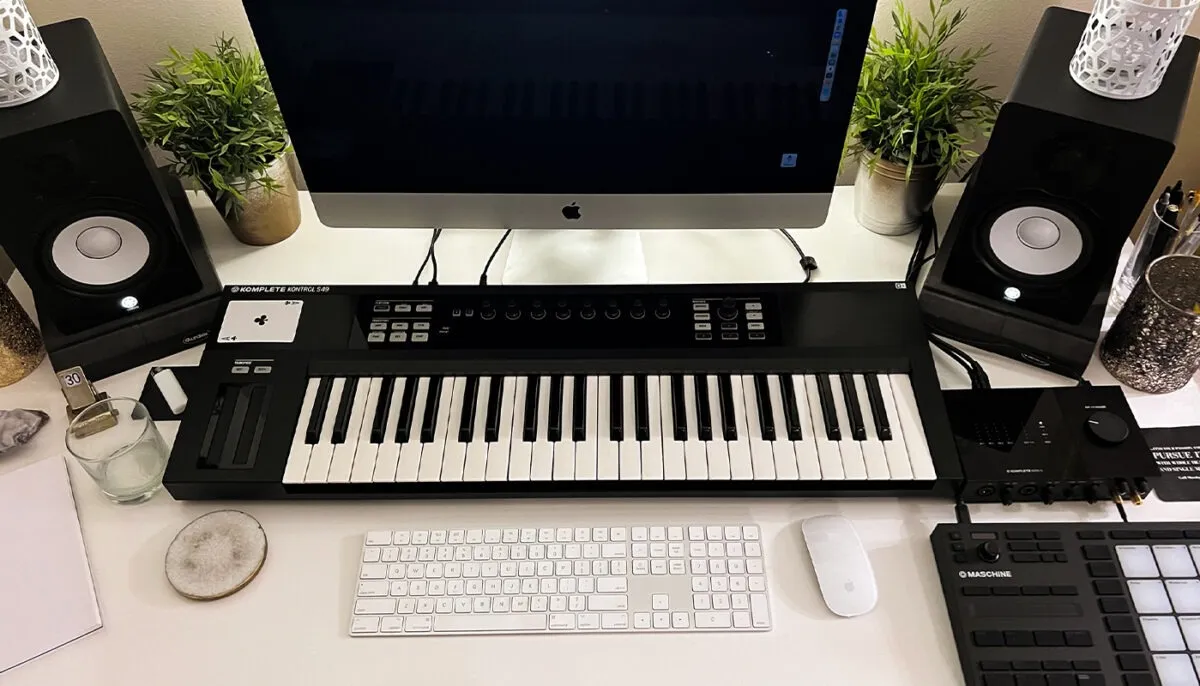
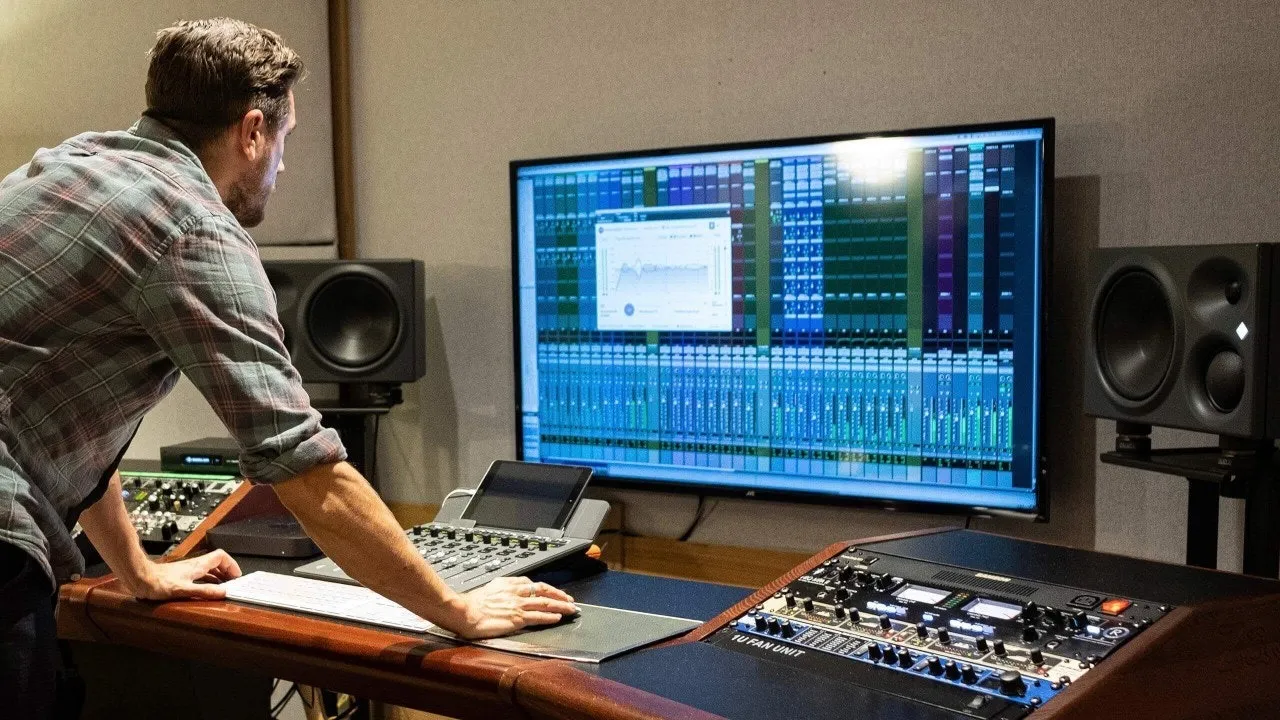
Now it's time to figure out what gear you'll need for your home recording studio. When it comes to setting up a professional-grade recording space, two key factors to consider are microphone placement and room acoustics.
The right microphone can make all the difference in capturing high-quality sound, so choose one that suits your needs and budget. Think about whether you'll be recording vocals or instruments, as different microphones excel in different applications.
Additionally, pay attention to room acoustics to ensure a clean and balanced sound. Consider using acoustic panels or diffusers to minimize reflections and echo in your space.
By carefully selecting the right equipment and optimizing your room acoustics, you'll create an environment that allows for optimal sound capture and reproduction.
With this foundation in place, let's move on to setting up your space effectively without any compromises on quality.
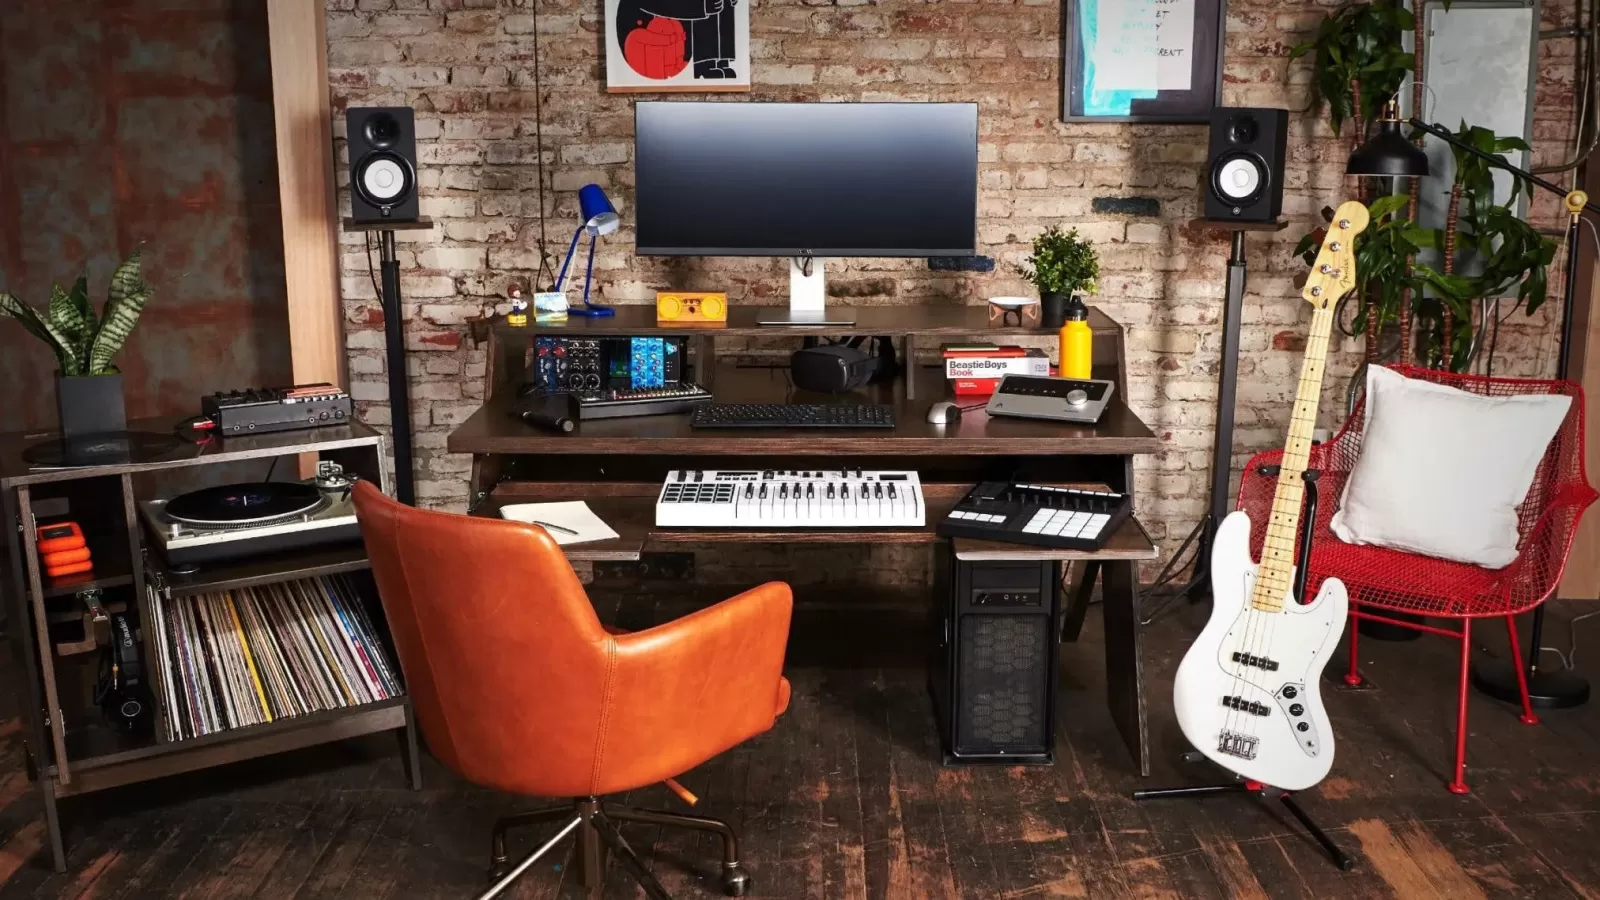
#2. Set Up Your Space
To create an optimal environment for your musical endeavors, begin by carefully arranging and organizing the space designated for your personal recording haven.
First, consider the layout of your room and arrange furniture in a way that maximizes workflow and minimizes obstructions. Position your desk or work surface against a wall to optimize space and make it easier to access equipment.
Next, address acoustic treatment by strategically placing sound-absorbing panels or diffusers on walls and ceilings to reduce unwanted reflections and echoes. You can also add bass traps in corners to control low-frequency resonance.
Additionally, consider investing in quality studio monitors to ensure accurate sound reproduction.
By setting up your space with proper furniture arrangement and acoustic treatment, you'll create an environment conducive to high-quality recordings.
Transitioning into learning the basics of recording will further enhance your home studio experience without missing any crucial steps.
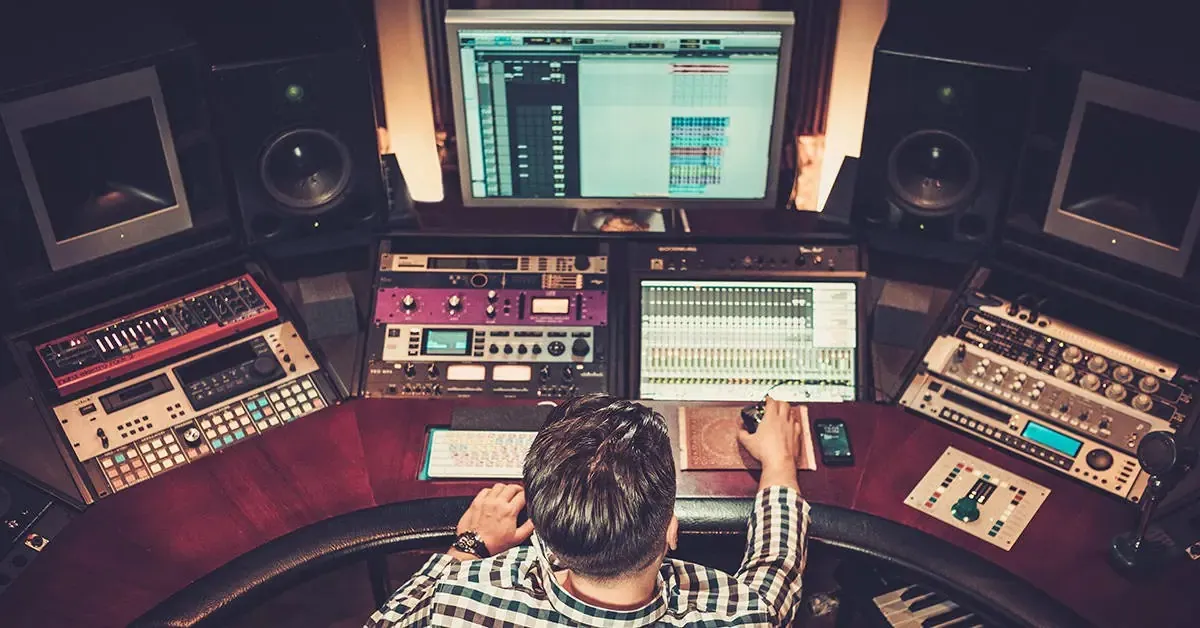
#3. Learn the Basics of Recording
To ensure a successful recording session, it's crucial for you to understand signal flow. Signal flow refers to the path that audio takes from the source to the final output. By grasping this concept, you can effectively route your audio signals and avoid any potential issues in your recording.
Another important aspect to learn is setting levels and gain staging. This involves adjusting the input levels of your audio signals to achieve optimal volume without introducing distortion or noise.
Lastly, it's essential to understand how to use EQ and compression. EQ allows you to shape the sound of your recordings by enhancing certain frequencies. Compression, on the other hand, helps you control dynamics.
By mastering these concepts, you'll have a solid foundation in recording basics.
Understanding Signal Flow
First things first, let's dive into understanding the signal flow in your home recording studio. To optimize your recording process and troubleshoot common signal flow issues, it's essential to grasp how audio signals travel within your setup. Here are four key aspects to consider:
- Input Devices: Connect your instruments or microphones directly to an audio interface or mixer using balanced cables for optimal sound quality.
- Audio Interface: This crucial component converts analog signals from input devices into digital data that can be processed by your computer.
- Digital Audio Workstation (DAW): After the audio interface, the DAW receives the digital signals and allows you to record, edit, and mix tracks.
- Output Devices: Finally, send the mixed audio from your DAW back through the audio interface and connect it to headphones or speakers for monitoring.
Understanding this signal flow will help you troubleshoot any issues and optimize levels and gain staging in subsequent sections without missing a beat.
Setting Levels and Gain Staging
Getting the levels and gain staging just right is crucial for creating a captivating and immersive sound experience in your music. Proper microphone placement plays a key role in achieving optimal levels. Make sure to position the microphone at the proper distance from the sound source, taking into account factors such as proximity effect and room reflections.
Additionally, pay attention to gain staging, which involves setting the input levels correctly to avoid distortion or noise issues. Keep an eye on your audio interface's input meters and adjust the gain accordingly to achieve a healthy signal without clipping. Troubleshooting common recording issues like low signal level or excessive noise can often be resolved by adjusting the microphone placement or gain settings.
Once you have mastered setting levels and gain staging, you can move on to using EQ and compression techniques for further enhancing your recordings' quality and impact.
Using EQ and Compression
Once you've dialed in the perfect levels and gain staging, it's time to dive into the exciting world of using EQ and compression to add that professional polish to your recordings.
EQ, or equalization, allows you to shape the frequency response of your audio by boosting or cutting specific frequencies. This helps you achieve a balanced and pleasing sound.
Compression, on the other hand, controls the dynamic range of your audio by reducing the volume of louder sections and boosting softer sections. It adds punch and clarity to your recordings.
When using EQ and compression, it's important to understand advanced techniques such as sidechain compression and parallel processing. Additionally, troubleshooting tips like avoiding excessive EQ boosts or compressing too heavily can help maintain a natural sound.
With these tools at your disposal, you'll be well on your way to mastering the art of mixing seamlessly into subsequent sections about 'mastering the art of mixing'.
#4. Master the Art of Mixing
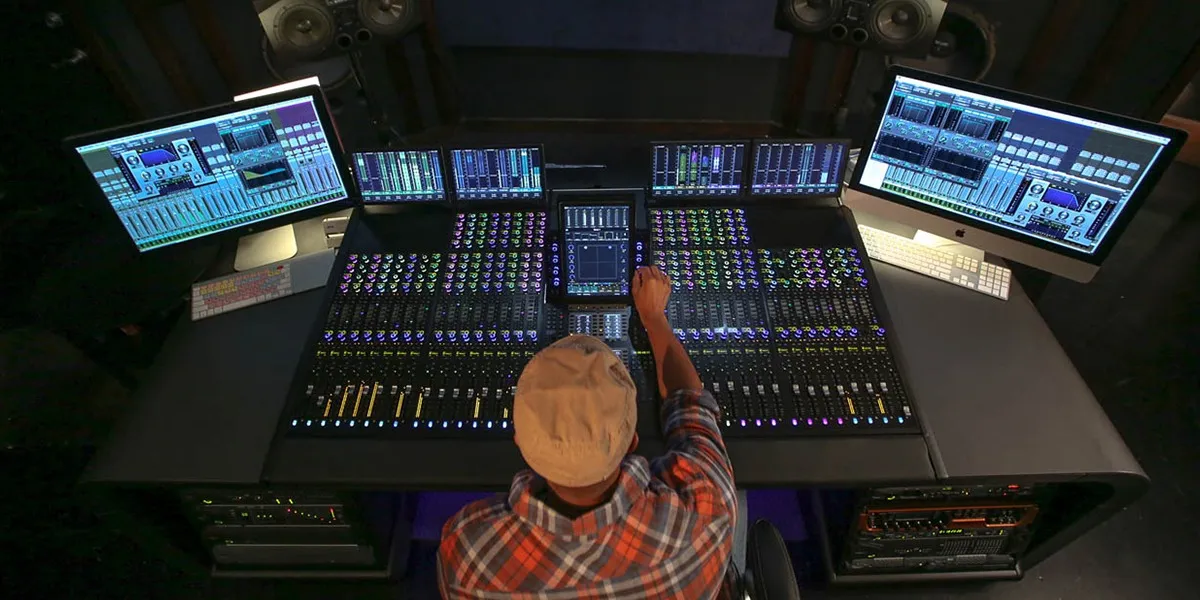
One of the most crucial skills to develop in order to create professional-sounding music is mastering the art of mixing in your home recording studio. Achieving balance is key when it comes to mixing, and one way to do this is through panning. By properly placing each instrument or sound element within the stereo field, you can create a sense of space and separation, resulting in a more immersive listening experience.
Additionally, enhancing depth is another important aspect of mixing. This can be achieved by using reverb and delay effects strategically on different elements of your mix. These effects add a sense of space and dimension, making your recordings sound more polished and professional.
Now that you've mastered the art of mixing, it's time to polish your recordings with editing and post-production techniques.
#5. Polish Your Recordings with Editing and Post-Production
Source: pirate.com
Immerse yourself in the magical world of post-production, where you can transform your recordings into masterpieces with the delicate touch of editing techniques. To polish your recordings and make them sound professional, here are three essential audio editing techniques to consider:
- Noise reduction: Use advanced software tools to eliminate unwanted background noise, such as hums, clicks, or hisses. Apply spectral editing to target specific frequencies and remove any distractions from your recordings.
- EQ adjustments: Enhance the tonal balance of your tracks by making precise equalizer adjustments. Boost or cut specific frequencies to bring out desired elements or reduce harshness in certain areas.
- Dynamic processing: Utilize compression and limiting techniques to control the dynamic range of your recordings. This helps ensure consistent volume levels and prevents any parts from being too loud or too soft.
By mastering these audio editing techniques and employing effective noise reduction methods, you can elevate the quality of your recordings during post-production. This will result in polished and professional-sounding tracks for your audience's enjoyment.
Conclusion
Congratulations on finishing to sett up a home recording studio! You've made the right choice by carefully selecting the equipment and creating a perfect space for your creative endeavors. Now, it's time to dive into the world of recording, mastering, and polishing your music. Remember to always strive for perfection in every step of the process, from capturing pristine recordings to expertly mixing and editing them. Soon enough, you'll be producing music that'll blow your mind – and your listeners' minds too! So get ready to rock the charts with your incredible talent!
If you're interested in this post, visit Meme Funny to keep up with the latest Music news.
Maybe you are interested:

Essentials Guides Of Recording Music At Home

Top Acoustic Guitar Songs For Beginners
More Like This